
Why the disc drive ps5 is Still a Massive Game Changer
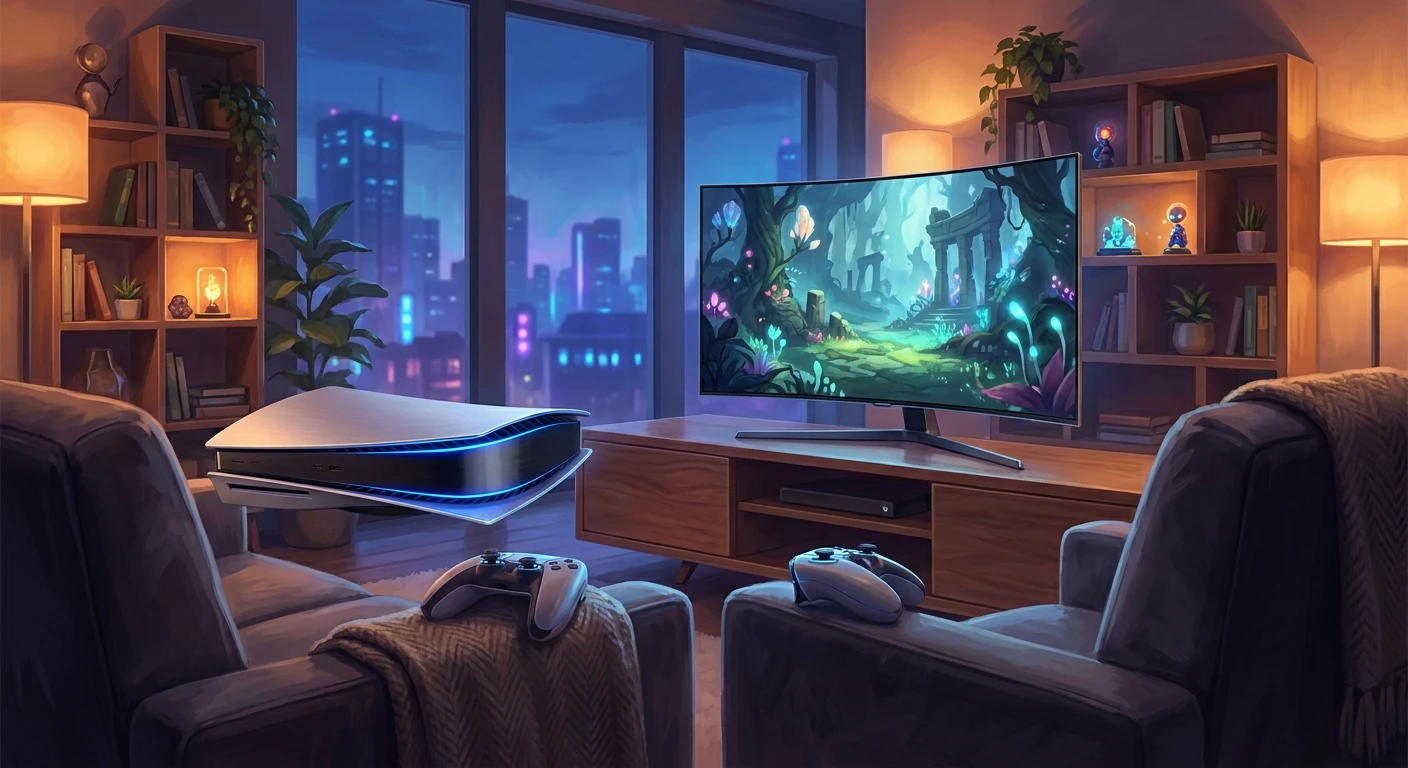
Choosing a disc drive ps5 setup over a purely digital one is still a massive debate among gamers right now. Honestly, I totally get why folks lean towards digital downloads for the sheer speed and convenience, but physical media holds a totally different kind of power. I remember being stuck in my apartment in Kyiv a few winters ago, right when rolling blackouts were hitting the grid hard. The internet dropped completely for two solid days. My entire digital library became completely useless because the console couldn’t ping the servers for license checks. But guess what saved my sanity during that dark, freezing weekend? My stack of physical game discs. I could just plug my console into a portable power station, pop a disc in, and play offline without a single hitch. That exact experience solidified my belief that actually owning your media is completely non-negotiable. If you rely completely on remote servers that you do not control, you do not truly own your games. Physical discs give you total freedom, actual tangible ownership, and the ability to trade or resell whenever you want. So, let me share exactly why picking up an optical drive is the absolute smartest move you can make for your gaming setup.
The core benefit of having this hardware isn’t just about collecting cool boxes on a shelf; it is about raw economic value and absolute control over your entire entertainment ecosystem. When you map out the long-term costs of your gaming habit, the initial extra cash you drop on the drive pays for itself incredibly fast. It literally becomes an investment rather than a sunk cost.
Here is a quick breakdown to show you exactly what I mean:
| Feature | Digital Console | Console with Disc Drive |
|---|---|---|
| Game Ownership | Tied to an online account (can be revoked anytime) | You own the physical copy forever |
| Resale Value | Zero. You absolutely cannot sell digital games | High. Trade in or sell on local marketplaces easily |
| Media Playback | Streaming apps only (heavily compressed quality) | Plays pristine, uncompressed 4K Ultra HD Blu-rays |
Let me give you two highly specific scenarios. First, imagine buying a massive AAA single-player blockbuster release for $70. You binge it and beat it in two weeks. With a physical copy, you can immediately sell it on a local marketplace or to a buddy for $50 or $55. That means you essentially rented a brand-new blockbuster for fifteen bucks. Try doing that with a digital download—you can’t. Second, think about backwards compatibility and bargain hunting. You can find used, legendary games from the previous generation in bargain bins or pawn shops for $5 to $10. On the official digital store, those same legacy titles often stubbornly sit at $40 or even full price.
Here are the top three unbeatable perks of maintaining physical media capability in your living room:
- Massive Cost Savings over Time: Consistently buying used physical games and selling your old ones drastically lowers the ongoing cost of your hobby.
- Ultimate Game Preservation: When publishers decide to delist a game from the digital storefront due to expired music licenses, it is gone forever. With a physical copy sitting on your shelf, nobody can take it away from you.
- Superior Movie Quality: 4K Blu-rays offer incredibly high-bitrate video and lossless audio tracks that streaming services simply cannot match, giving your home theater a massive, undeniable boost.
Origins of Physical Media in Gaming
Let me take you on a quick trip down memory lane to understand how we got here. Decades ago, bulky plastic cartridges completely ruled the world. But when the very first PlayStation launched back in the 1990s, it completely revolutionized the entire industry by utilizing standard CD-ROMs. This dramatic shift allowed for massive storage capacity increases, giving developers the unprecedented space to include full-motion video cutscenes and fully orchestrated soundtracks. It was a monumental leap forward that cemented optical media as the absolute gold standard for home console gaming.
Evolution of the PlayStation Disc Drive
The evolution from that original grey box to what we have today is pretty wild. The PS2 brought DVD playback out of the premium enthusiast space, making it the absolute cheapest DVD player on the market and secretly putting a home theater device into millions of living rooms. Then the PS3 introduced Blu-ray, repeating the cycle for high-definition media. By the time the PS4 rolled around, Blu-ray was standard, but game file sizes were totally ballooning. The optical drive silently shifted from playing games straight off the spinning disc to acting mostly as a high-speed installation and license verification tool. The medium evolved from a simple data reader into a sophisticated DRM manager, while brilliantly still preserving the user’s ability to trade and share freely.
The Modern State of the Optical Drive
Now that we are sitting securely in 2026, the tech landscape has completely shifted again. Sony made a brilliant hardware pivot recently by introducing heavily modular console designs. Instead of forcing you to choose between two completely different, permanent console models at checkout, you can now seamlessly add or remove the drive at will. This modularity means the optical reader has transitioned from a built-in, unchangeable necessity to a highly customizable premium add-on. It gives you the ultimate flexibility, ensuring that physical media enthusiasts aren’t left behind while keeping the base hardware sleek, light, and highly accessible.
Laser Technology Demystified
You might think simply popping a shiny game disc into a slot is simple, but the actual technology operating inside that box is honestly mind-blowing. The drive uses an ultra-precise blue-violet laser operating at a wavelength of exactly 405 nanometers to read the microscopic, sub-millimeter bumps and pits stamped onto the plastic surface of a disc. Because the blue laser has a significantly shorter wavelength than the old red lasers used for classic DVDs, it can tightly focus on a much smaller spot. This precise focus allows digital data to be packed incredibly tight on a single, extremely thin layer of plastic. It is functionally like swapping out a thick permanent marker for an ultra-fine-tipped drawing pen when writing a tiny cheat sheet—you can suddenly fit vastly more information into the exact same physical dimensions.
Data Transfer and Installation Speeds
One massive thing people constantly misunderstand is exactly how the modern console handles this optical data. It absolutely does not read the game directly from the spinning disc while you play anymore. The internal custom solid-state drive (SSD) is vastly faster than any mechanical optical reader could ever hope to be. So, the drive serves purely as a high-speed data transfer pipeline to forcefully install the game data onto your ultra-fast flash storage. After that, it simply acts as a physical security key to quickly verify you still own the game when you launch it.
Here are some wild technical facts about the modern optical reading hardware:
- Massive Storage Capacity: A standard dual-layer UHD Blu-ray disc can effortlessly hold up to 100GB of highly compressed game data.
- Dynamic Rotational Speeds: The drive intelligently spins the media at variable speeds depending on whether it is aggressively installing a massive game or quietly playing a cinematic movie, optimizing for acoustics and read rates.
- Advanced Vibration Isolation: The housing uses highly specialized rubber dampeners and acoustic shielding to prevent the high-speed spinning from vibrating and rattling your entire wooden entertainment center.
- Hardware Cryptographic Pairing: For strict security and anti-piracy reasons, the modular drive cryptographically pairs securely with your specific motherboard during the initial internet setup.
If you initially grabbed a digital-only slim version of the console and finally decided you want to upgrade, installing the modular optical unit is incredibly easy and deeply satisfying. I put together this simple 7-step plan to guide you through the physical process seamlessly. Think of this as your quick, stress-free weekend DIY tech project.
Step 1: Prepping Your Workspace
First things first, clear off a clean, solid table. You really do not want to do this on your couch or a fuzzy carpet where static electricity can build up and potentially fry something. Grab a soft, clean microfiber cloth to lay the hardware on so you absolutely do not scratch those pristine faceplates. Thoroughly disconnect all cables from the back of the machine, especially the main power cord.
Step 2: Removing the Console Covers
Lay the console completely flat on your workspace. You need to confidently remove the bottom faceplate. Just grab the top corners, give it a firm, gentle pull upward, and smoothly slide it down toward the base. It might feel like you are applying slightly too much force at first, but the internal plastic clips are specifically designed to pop in and out. It pops right off with a satisfying snap.
Step 3: Aligning the Optical Drive
Once the side cover is entirely off, you will clearly see a large empty cavity with exposed connection points on the motherboard. Take your brand-new optical drive and perfectly line up the metal prongs with the corresponding deep holes on the chassis. It is keyed to only fit one single way, so you absolutely cannot mess this alignment up.
Step 4: Securing the Connection
Push the drive firmly into place until you hear a highly satisfying, loud click. There are absolutely no metal screws required here, which is just brilliant, consumer-friendly engineering. Ensure the entire unit sits perfectly flush against the plastic body so the internal data connections make solid, uninterrupted contact.
Step 5: Booting and Online Registration
Snap your new, slightly wider faceplate (which comes in the box) onto the console to neatly cover the new hardware bulge. Plug your power cord and HDMI cable back into your TV. When you initially boot up, you absolutely must be connected to the internet. The system securely performs a quick online cryptographic handshake to verify and register the hardware. This annoying but necessary step only happens exactly once.
Step 6: Testing with a Dual-Layer Blu-Ray
Once registered and sitting on the home screen, grab the biggest physical game or 4K movie you currently own. Smoothly slide it right into the front slot. You should hear the spindle quietly spin up inside. Check your digital dashboard to ensure the little disc icon instantly appears and the game installation begins smoothly without any terrible grinding noises.
Step 7: Routine Cleaning and Maintenance
Keep your expensive hardware happy for years to come. Every few months, take a dry microfiber cloth and gently wipe around the disc slot to absolutely prevent annoying dust buildup. Never force a stubborn disc in, and always keep your physical media perfectly clean and smudge-free to avoid sudden laser read errors.
Even with all this amazingly documented tech, there is a ton of wild misinformation floating around the community forums. Let me clear up a few of the most stubborn rumors out there right now.
Myth: Games played directly from physical media suffer from noticeably slower loading times.
Reality: The optical drive only strictly installs the game to your internal NVMe SSD. Once installed, the game runs entirely from the ridiculously fast flash storage. Loading times are exactly, 100% identical to digital downloads.
Myth: The attachable drive is incredibly loud, rattles the desk, and overheats the main system.
Reality: The engineers designed custom acoustic dampeners for the modular unit. Unless a disc is actively ripping 100GB of data during an initial install, the hardware remains virtually silent and does not negatively impact thermal performance at all.
Myth: Buying physical is a total waste of money because of massive day-one internet patches.
Reality: While patches certainly exist, the vast majority of physical games are perfectly playable straight from the raw 1.0 version printed on the plastic disc, completely offline.
Can I share my games with friends?
Yes, absolutely! Just hand them the physical plastic box. There are zero account restrictions, complicated family sharing plans, or digital hurdles to jump through.
Does it play older games?
It fully supports wonderful backwards compatibility with previous generation discs from the PS4 era, often boosting their frame rates.
Do I need an internet connection to use it?
Only once. You need internet for the very initial hardware pairing. After that handshake, it operates completely offline forever.
Will it play standard audio CDs?
No. The current system software does not support standard audio CD playback whatsoever, only game data discs and video Blu-rays or DVDs.
Is region locking a problem?
For games, absolutely no. Games are generally fully region-free. However, for older DVD and Blu-ray movies, region locking sadly still applies based on where you bought the actual console.
How do I eject a stuck disc?
If the power tragically goes out while playing, there is a hidden manual eject screw sitting right under the faceplate. You can manually turn it with a small Phillips screwdriver to safely and gently push the disc out.
Can I swap the drive between different consoles?
You can, but you have to fully reset and re-register the hardware over the internet each and every time you move it to a completely new motherboard.
Final Thoughts
At the end of the day, securing a solid home setup with a dedicated physical reader is all about maintaining total control over your library. You get dramatically better resale value, crystal-clear uncompressed movie nights, and absolute immunity to random server shutdowns. Do not let your digital rights get completely dictated by remote corporate storefronts. Grab your favorite physical titles, build up an impressive shelf, and completely upgrade your gaming setup today!




Leave a Reply