

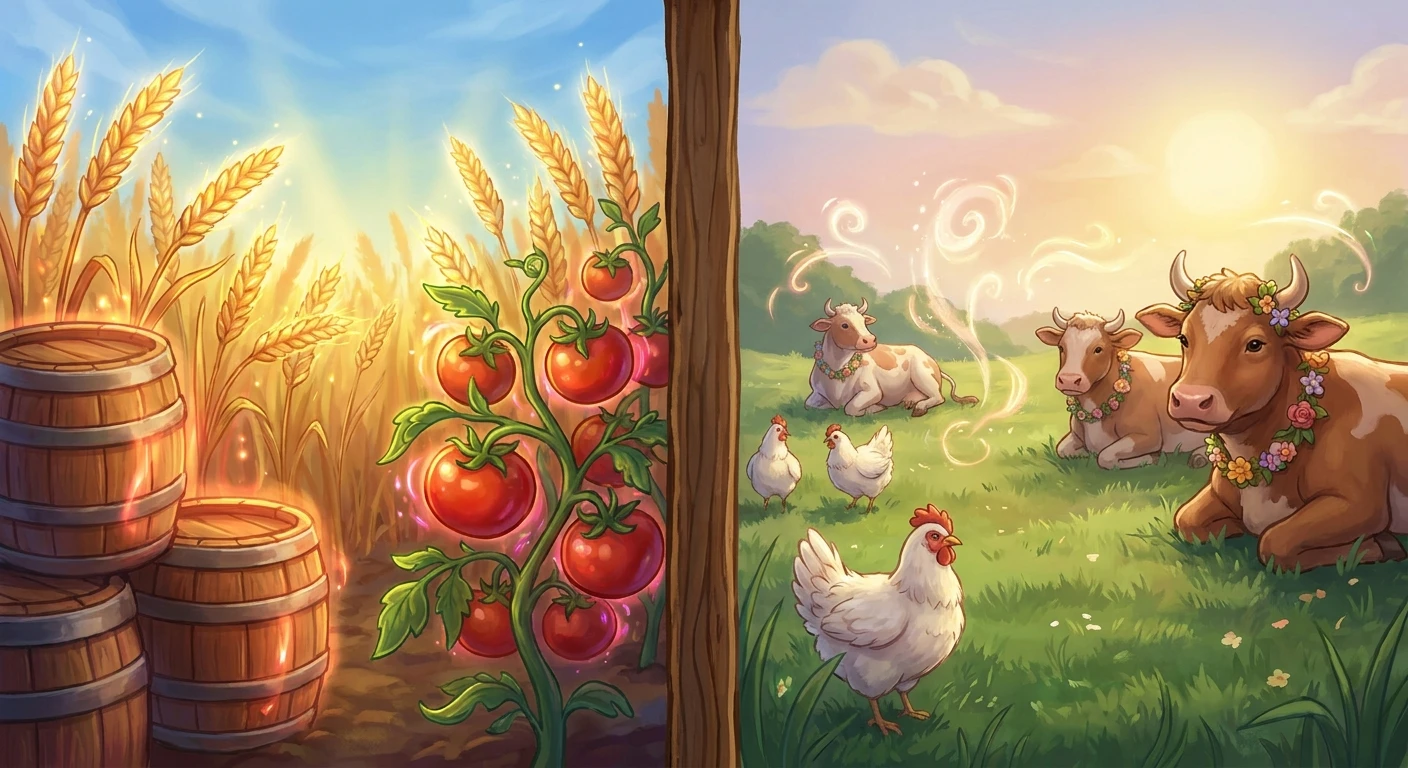
The Ultimate Choice: Stardew Valley Rancher or Tiller
The moment you hit Farming Level 5, the prompt asking you to choose between Stardew Valley Rancher or Tiller can stop your entire routine in its tracks. This single decision sets the foundation for your late-game economy, determining whether your main source of income will come from sprawling fields of crops or bustling barns full of animals. Making the right choice early on ensures you have enough gold to upgrade your tools, unlock new buildings, and complete the Community Center bundles without feeling financially strained.
You are essentially deciding between a 10% bonus to raw crop prices and a 20% bonus to animal product prices. While 10% might sound inferior at first glance, the secondary branches that unlock at Farming Level 10 drastically alter the math. This choice dictates your entire playstyle. If you prefer waking up, petting your cows, gathering eggs, and heading into town, your trajectory looks very different from someone who wants to plant hundreds of seeds, set up automated sprinklers, and forget about them until harvest day. Understanding exactly how these mechanics interact with the broader game economy is critical for long-term success.
Read also: Guide: How Much Is Disney Plus Australia Today; Best PS5 Bundle Australia Deals Right Now.
Analyzing the Core Benefits
To grasp why this choice matters, you need to look at the immediate impact on your wallet and the future paths that open up. The immediate Level 5 bonuses provide a noticeable bump to your daily shipping bin totals, but the true power of these professions lies in the Level 10 upgrades they lead to. Here is a breakdown of what each path offers.
| Profession Path | Level 5 Immediate Benefit | Level 10 Branch Options |
|---|---|---|
| Tiller | Raw crops sell for 10% more gold | Artisan (Goods worth 40% more) or Agriculturist (Crops grow 10% faster) |
| Rancher | Animal products sell for 20% more gold | Coopmaster (Befriend coop animals quicker) or Shepherd (Befriend barn animals quicker) |
| Switching Paths | Costs 10,000g at the Statue of Uncertainty | Allows complete reallocation of both Level 5 and Level 10 skills |
The value proposition for Tiller is astronomical for players aiming to build massive keg and preserves jar empires. By selecting Tiller at Level 5, you gain access to the Artisan profession at Level 10. This means items like Ancient Fruit Wine, Truffle Oil, and Pale Ale will sell for an incredible 40% more gold. For example, a single bottle of normal quality Starfruit Wine jumps from a base sell price of 2,250g to a massive 3,150g. Over a cellar full of casks, that difference translates to hundreds of thousands of gold. Conversely, Rancher offers fantastic early-game stability. A 20% boost to mayonnaise and cheese keeps the money flowing daily, allowing you to fund tool upgrades and seed purchases before your massive crop yields are ready. For instance, an Iridium quality Large Milk normally sells for 380g, but with Rancher, it leaps to 456g.
- Assess your daily routine. If you hate petting animals and refilling silos, avoid the Rancher path and focus entirely on automated crop farming.
- Evaluate your infrastructure. If you lack the materials for sprinklers, early game animals might provide the consistent income you need while you mine for iron and gold.
- Look at your seasonal goals. If your immediate objective is building the Vault bundles, calculate which products you are currently producing the most of and boost their value.
Origins of the Farming Skill Tree
The farming skill tree has been a core pillar of Stardew Valley since the game initially launched. Creator ConcernedApe designed these branching paths to offer distinct role-playing experiences. Originally, the economy heavily favored massive crop fields, leaving animal husbandry as a secondary, less profitable hobby. Early iterations of the game saw players rushing the Tiller path exclusively to reach the Artisan perk, largely ignoring barns and coops once the Community Center was finished.
Evolution of Crop and Animal Economics
Over the course of multiple major updates, specifically patches 1.4, 1.5, and 1.6, the development team actively rebalanced these economies. The Rancher profession received direct buffs to ensure that players who wanted to focus on raising livestock were not economically penalized. Base prices for items like mayonnaise, cheese, and cloth were adjusted, and the processing times for animal goods were streamlined. Furthermore, the introduction of new late-game items and machines made animal products much more competitive, narrowing the massive gap that once existed between wine empires and dairy farms.
Modern State of Farm Optimization
Today, farm optimization is a highly calculated science. While the Tiller-to-Artisan pipeline remains the absolute highest ceiling for raw gold generation, the Rancher path has found a highly competitive niche. Players running massive pig farms rely heavily on the synergies between foraging skills and animal products, often switching between professions strategically. The modern meta encourages adapting your profession to your current farm layout rather than sticking to a single path forever, thanks to late-game features that allow for skill resets.
The Mathematics of Gold Multipliers
Understanding the exact math behind the Stardew Valley engine helps you maximize every single harvest. The game calculates sell prices by taking the base value of an item, multiplying it by its quality modifier, and then applying your profession bonus. Silver quality adds 25% to the base price, Gold quality adds 50%, and Iridium quality doubles the base price. The profession multiplier is applied at the very end of this calculation. This means that a profession bonus scales incredibly well with high-quality items.
Technical Mechanics of Growth and Processing
Processing mechanics operate on specific in-game minute timers. A keg processing fruit into wine takes 10,000 in-game minutes, roughly equivalent to seven days. A mayonnaise machine takes only three in-game hours. The speed of return on investment heavily dictates which profession feels better in the short term. Tiller investments often require long wait times for massive payouts, while Rancher investments yield daily, smaller payouts.
- Base Price Calculation: Item Base Value * Quality Multiplier * Profession Multiplier.
- Tiller explicitly does not apply to foraged items like wild plums or blackberries; it only applies to crops grown on the farm.
- The Artisan profession applies its 40% bonus to virtually all machine-processed goods, making it the most mathematically dominant skill in the game.
- Rancher applies its 20% bonus to raw animal goods and their direct processed forms, meaning mayonnaise and cheese benefit from this early perk.
- Crop growth speed from the Agriculturist perk stacks additively with Speed-Gro fertilizers, significantly reducing days to harvest for long-term crops.
Step 1: Maximize Early Spring Crops
Your journey to Level 5 starts on Day 1. Plant every parsnip seed you are given and spend your initial 500g on more seeds. Water them diligently. The goal is to harvest as many fast-growing crops as possible to accumulate farming experience points quickly.
Step 2: Balance Watering and Energy
Farming uses massive amounts of energy. Forage for spring onions in the Cindersap Forest to keep your energy bar topped off. You must consistently plant and harvest to reach the 5,000 XP threshold required for the profession choice. Do not let your fields sit empty.
Step 3: Invest in Your First Silo
Before purchasing any animals, build a silo. Robin can construct this for 100g, 100 stone, 10 clay, and 5 copper bars. Having a silo ensures that when you cut grass with your scythe, it turns into hay, securing free feed for your future livestock and saving you massive amounts of money.
Step 4: Purchase Initial Livestock
Once you have a steady cash flow from crops and a completed silo, build a coop. Buy two or three chickens from Marnie. Pet them every single day to increase their heart levels, which directly correlates to the quality of eggs they produce.
Step 5: Process Basic Goods
Craft mayonnaise machines and cheese presses as soon as you unlock their recipes. Processing raw milk and eggs drastically increases their sell price, generating the daily income necessary to fund large-scale seed purchases for the upcoming summer season.
Step 6: Hit the Level 5 Milestone
Usually, around late Spring or early Summer, you will accumulate 5,000 farming XP. The night you hit this milestone, the level-up screen will pause your progress. Evaluate your farm. If you have a coop and barn running smoothly, Rancher provides an instant economic boost. If you have hundreds of blueberries planted, Tiller is the logical choice.
Step 7: Pivot at the Statue of Uncertainty
Later in the game, once you unlock the Sewers, you will find the Statue of Uncertainty. For 10,000g, you can sleep and reset your farming skills. This allows you to use Rancher in the early game for fast cash, and seamlessly swap to Tiller and Artisan once your cellar is packed with wine casks.
Myths and Reality
Myth: The Tiller profession is the only viable option for making money.
Reality: While Tiller leads to Artisan (the highest gold ceiling), a fully optimized Rancher farm focusing on aged cheese and high-quality wool can easily fund any late-game purchase without the week-long wait times of wine kegs.
Myth: Rancher only buffs raw eggs and milk.
Reality: The Rancher profession actively boosts the value of processed animal goods like mayonnaise and cheese by 20%, making it highly lucrative before you unlock Artisan.
Myth: Your Level 5 profession choice is locked forever.
Reality: You can pay 10,000g at the Statue of Uncertainty in the Sewers to change your profession at any time, allowing for strategic mid-game pivots.
Myth: Crops always out-earn animals regardless of skills.
Reality: A barn full of pigs finding Iridium-quality truffles, supported by the right foraging skills, often out-paces standard crop farming in daily gold generation.
Can I change my profession later?
Yes. Once you unlock the Sewers, you can interact with the Statue of Uncertainty, pay 10,000g, and pick a new profession overnight.
Does Tiller affect foraged items?
No. Tiller only applies to crops grown from seeds on your farm. Foraged items rely on the Foraging skill tree for price bonuses.
Do truffles count as animal products?
Interestingly, truffles are considered foraged items, not animal products. They are boosted by the Gatherer and Botanist professions, not Rancher.
Which path makes more money overall?
The Tiller path, leading to the Artisan profession, mathematically generates the most money in the late game due to the 40% bonus on expensive wines and jellies.
Does Rancher boost mayonnaise?
Yes. Rancher applies a 20% price increase to both raw animal products and their direct processed forms like mayonnaise and cheese.
What is the Artisan profession?
Artisan is the Level 10 skill unlocked if you chose Tiller. It increases the sell price of artisan goods (wine, cheese, oil, preserves) by 40%.
How much XP is needed for level 5?
You need exactly 5,000 Farming Experience Points to reach Level 5 and trigger the profession choice prompt.
Does Tiller work in the greenhouse?
Yes. All crops grown in the greenhouse, on Ginger Island, or on your main farm benefit from the 10% Tiller price bonus.
Choosing between Stardew Valley Rancher or Tiller fundamentally shapes how you experience your daily farm life. Whether you want to tend to a bustling barnyard or manage vast automated crop fields, understanding the math behind your decision empowers you to build the farm of your dreams. Optimize your daily routines, plan for the late game, and remember that you can always reset your skills later if you want to try a new strategy. Share this guide with your co-op farming partners to ensure your entire multiplayer farm maximizes its profits this season!





Leave a Reply